Hey friend,
Thanks for visiting this stupid blog of mine. As you can see it's been a long time since I've updated this page. Sadly i no longer have the time, space and resources to continue making props on commission. On rare occasion get the opportunity to I work on personal projects but those opportunities are few and far between. In essence, I am a failed prop maker.
So what does this mean for this thoroughly ignored blog? Well i'll post what little projects i get done over time, which may include costumes, and props, but other wise it'll continued to be ignored as I venture back to the world of academics. It'll be at least 4 years before I can divert my focus back to prop making on a more serious level.
But is this the end? No. I enjoy prop making too much to call it quits. One day I might come back to wreak havoc with my fake weaponry abound. But for now, we will have to put this adventure on pause.
Thanks for joining me on this very short blip of a ride. It's been fun.
Wednesday, January 7, 2015
Team Fortress 2: Force -a- Nature

So this is an old build that i finally got around to finishing. Again, as one of my earlier projects, this was based on Volpin's version of the same thing, but with slight (and i mean very slight) modifications.
starting off with the basic shapes for the gun, i cut 1/4" MDF board into the corresponding shapes and started to glue them together. Basic stuff really.


then the next step was to get the back domes on the trigger box ( i have no idea what that part is actually called, so i started calling it that. I decided on Balsa wood for the back dome cause it was super easy to carve down to the basic shape, then sand. although it was very difficult to get it super smooth, and took a lot of bondo.


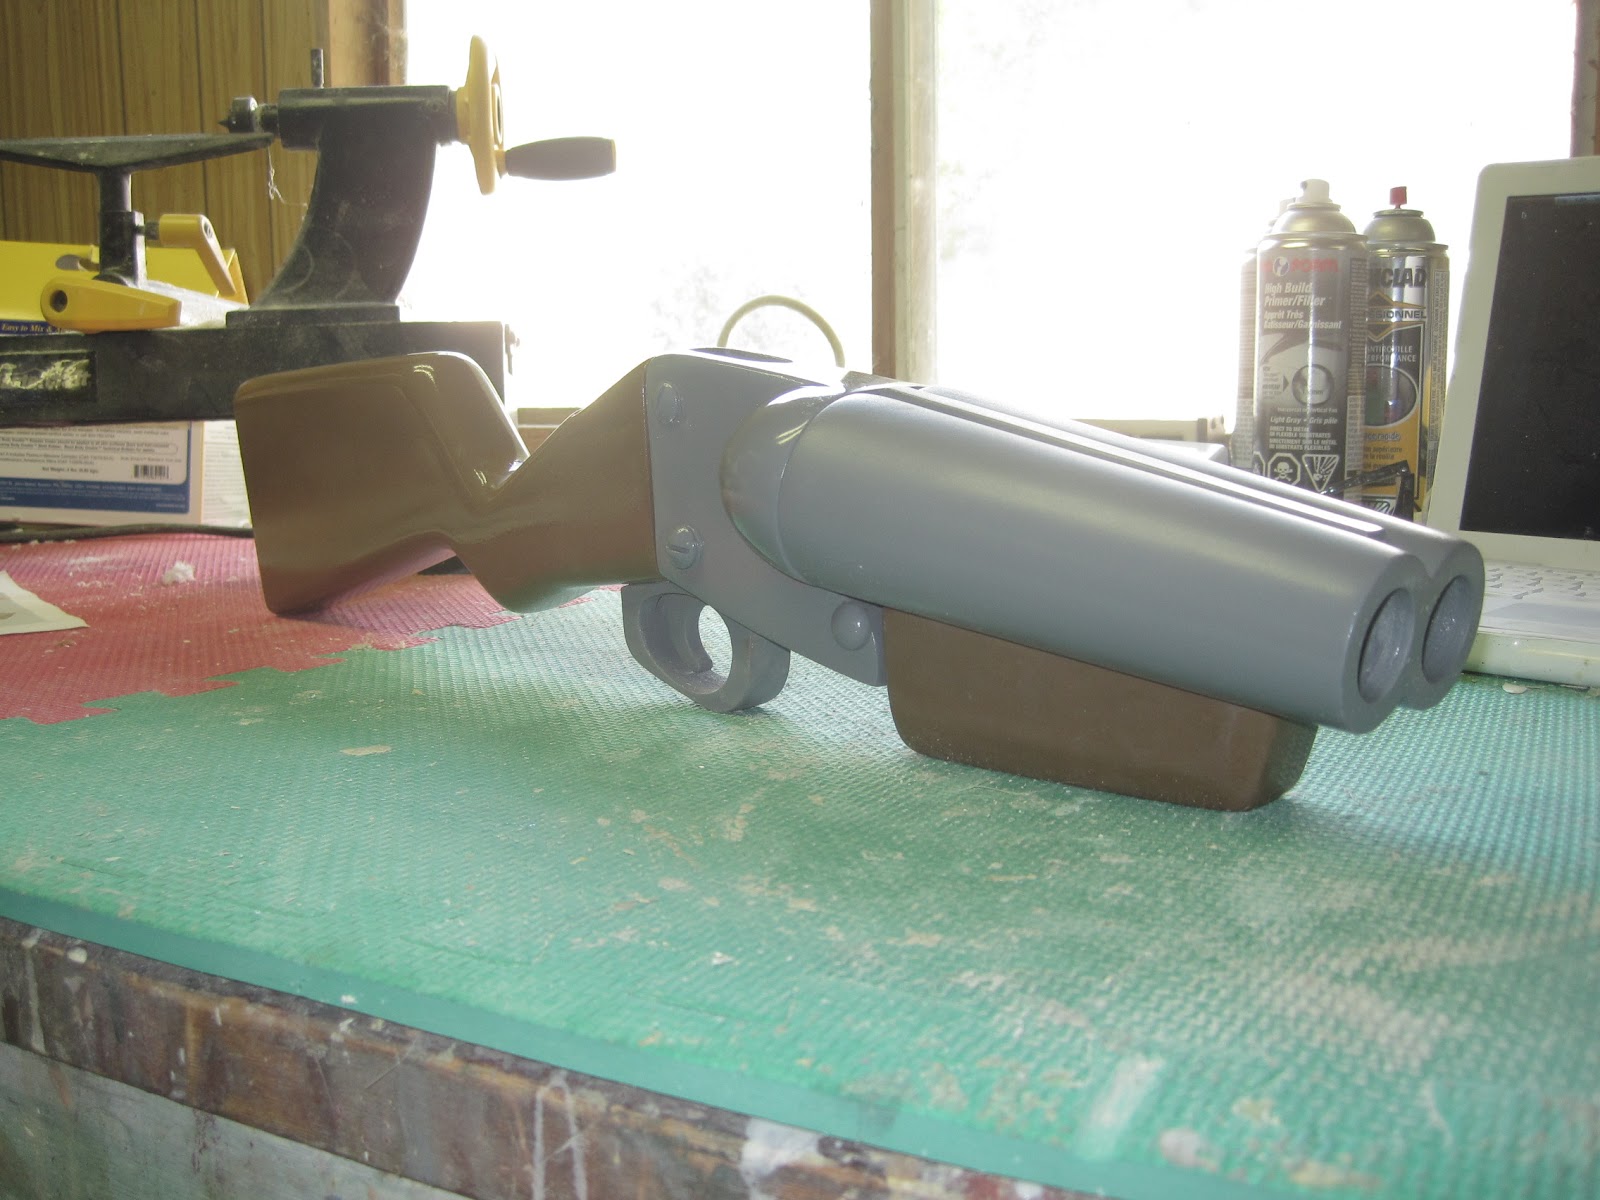
at the moment, this project is unfinished. i no longer have space or time to continue this project.
Subscribe to:
Posts (Atom)