
So for those PS2 players out there, you may have heard of a game called shadow hearts 3. its your typical Japanese RPG that's themed around the "new world", or in other terms , the wild west. One of the playable characters in the game is Shania: a native american woman who is on the hunt for vengeance. Armed with her mysterious powers of "fusion" and a pair of twin tomahawks, she tracks down her prey.
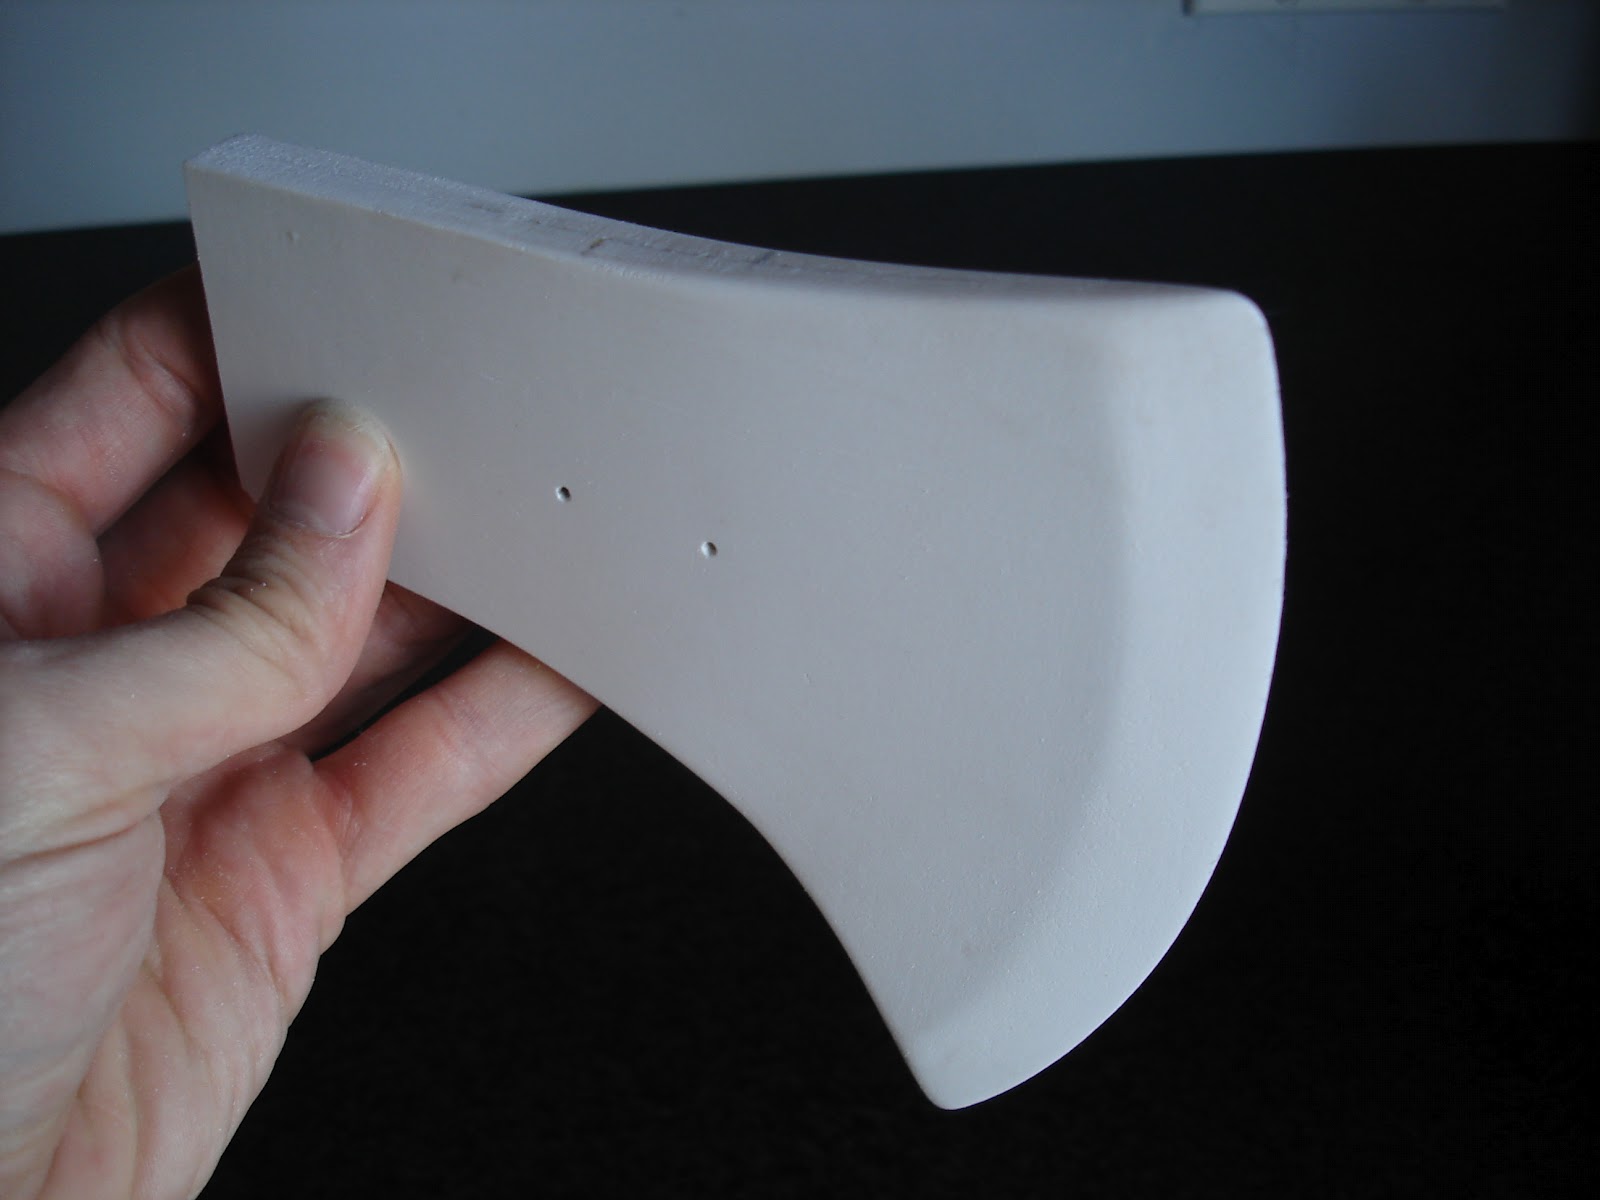
Charged with the task of recreating the twin tomahawks, I first set to work on the blades of the tomahawks. figuring that the tomahawk blades should be about 1/4 inch thick, I bought a sheet of 1/8 sintra board, and cut four blade shapes. the easiest way to make sure that they were all the exact same shape was to stack them on top of each other, then cut them all as one.

From their, I paired the shapes off, and sanded down one side of each half so that when the two pieces came together, the blade would be tapered on both sides. Then once these were glued together, I sanded them down further with some 320 grit sand paper, and then primed and sanded further so that they were nice and smooth.

Once the apoxie was dry, I smoothed out the collar, and chiseled out a slot for the blade to sit in. then the blades were glued into position. After some touch ups with bondo and primer, I was ready to get working on the weird little triangle bit on the back of the blade.

As you can tell, from the above picture, I had already begun tapering the neck. This was a relatively simple process of just carving it down with a pocket knife.
In a similar fashion to the blades, I started working on the triangular bits on the back by cutting them out, sanding them down and gluing them together. I tried to get them to look as best as I could before gluing them in place because fixing them later would have been a major hassle.


Then, in a failed attempt to copy volpin's rusting technique, I applied aluminum powder in various areas on the blade, then sprayed them down with lemon juice and peroxide. If you failed hadn't fail highschool chemistry (unlike myself), you would know that aluminum dust not rust like iron, in which it does not turn that beautiful orangeish/redish color. Instead it just becomes a duller shade or aluminum.
So instead I floundered around for the next several days attempting to weather and rust the blades with acrylic paints. quite unsuccessfully i might add.
here are a few pictures of the failed attempts.


After discussing my difficulties with weathering the blades, I found out that the girl who requested the tomahawks never intended them to be rusted, and wanted them back to their basic colours.
After a day of scrubbing and cleaning, i got the blades back to their original form before the weathering.


Then with a little more apoxie sculpt I made a couple cuffs for the grips.

After a brief period of sanding, priming, sanding, bondo, sanding, priming these were ready for the final touches of silver paint.

Once both were dry, they were shipped and sent off to my commissioner, who graciously agreed to send me photos of her with the tomahawks for the blog (there will be edits later). Be on the look out for Kai at Anime North this year wielding these bad boys.

Thanks for tuning in, and see you again real soon!
Blarg